
I've been seeing all kinds of cute decorations for the Fall season. Michaels and JoAnns have some really cute things and of course, out there in blogland, there is always amazing stuff. I knew I could make my own though, and I wanted to use things that I already had to hand. It seems that I have a never-ending supply of scrapbook paper and I would love to make a dent in it. So my brain came up with this. Hope you enjoy!

I started with this pewter frame that had it's glass broken a long time ago. I kept thinking I would use it for something eventually. It's day had come! Time to be useful again.

This is the frame after several coats of acrylic paint. This doesn't take too long to dry and should be completely dry by the time you are finished with your art!

Then I had to decide what I wanted it to say. That sometimes takes awhile for me. Anyway, after I decided I used green glitter stickers and stuck them on brown paper. I then cut them out leaving a shadow of the brown paper around the letters.

Then I spaced them out on my paper and began using Mod Podge Paper to glue them to a brown-spotted paper.
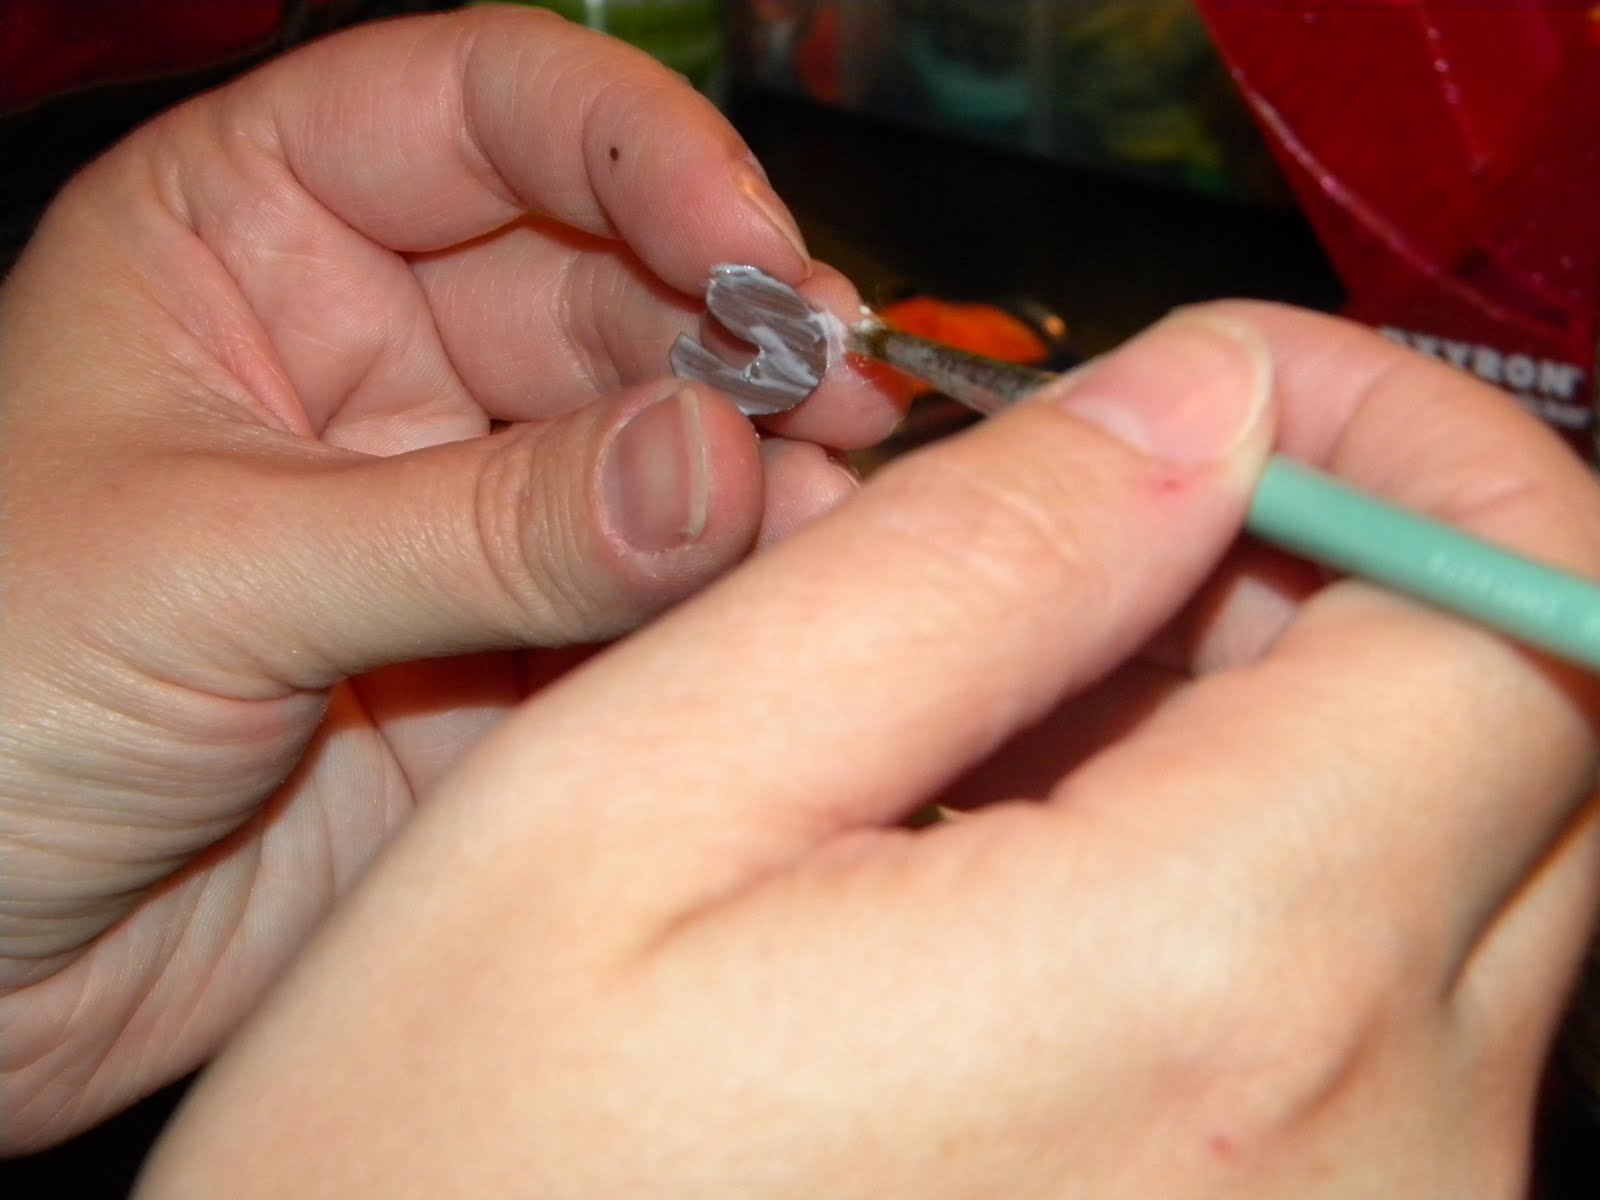
I just use a paint brush to apply the Mod Podge.
You get a little messy but it works really well.

Here are the letters glued to the brown-spotted paper.

Then I took a brown button and Mod Podged on two googly eyes, and a beak/waddle.

Then I made turkey feathers out of brown, yellow and orange paper. I made 3 yellow, 3 brown and 2 orange.

Then I glued them down in the pattern
that I wanted for my turkey tail.

I hot glued the turkey head onto the tail. Then I picked out other orange buttons to be my pumpkins and hot glued them on as well.

Then I took floral wire and used a small screw driver and my wire cutting pliers to make a curly cue for a pumpkin vine. You just wrap it around as many times as you would like and you may have to use the pliers to bend it and mold it.

Then I attached my vines to the pumpkins using hot glue. Only after I completed this did I realize that I should have measured where my frame would be. It did not fit in the frame! Oh it frustrated me so bad that I made such a stupid mistake! So I had to leave it for a while and then come back to fix my problem.

So this time I chose a piece of brown paper to put everything on and I made sure to make marks on the paper for where everything needed to be. I cut the letters out on a strip of the brown-spotted paper and ran it through my sticker machine. I love that thing!

I cut out my turkey and around the pumpkins.
I used Mod Podge Paper to glue them down.

So this was my new layout. Not exactly like I had invisioned but not too bad either. Still it needed a way to hang it on the wall.

I had lost the back to this frame at the same time the glass was broken in it. So I cut out a piece of cardboard to size and then hotglued a string of ribbon at the top to be the hanger.

There it is! Finished. I could make several different themed pieces to hang inside for each season.
It would be easy enough to switch out.
I hope you enjoyed it and if you have any questions about the tutorial feel free to email me or leave me a comment and I will respond as soon as I can.


I love it! So glad you were able to get it to fit in that nice frame.
ReplyDeleteJane
cute! the pumpkins are adorable!
ReplyDeleteand aren't those sticker machines the best!