
My fridge always seems to collect "stuff". It's not junk, because they are all things that are important. School calendar, school lunch calendar, baseball game schedule, missionary prayer cards, Save the Date cards, etc...
I wanted to have some other place to put some of these things where A.) they weren't hidden away to be forgotten, and B.) they would almost seem like decoration while they were hanging out.
I spent around $11 on my supplies and here is what I came up with.


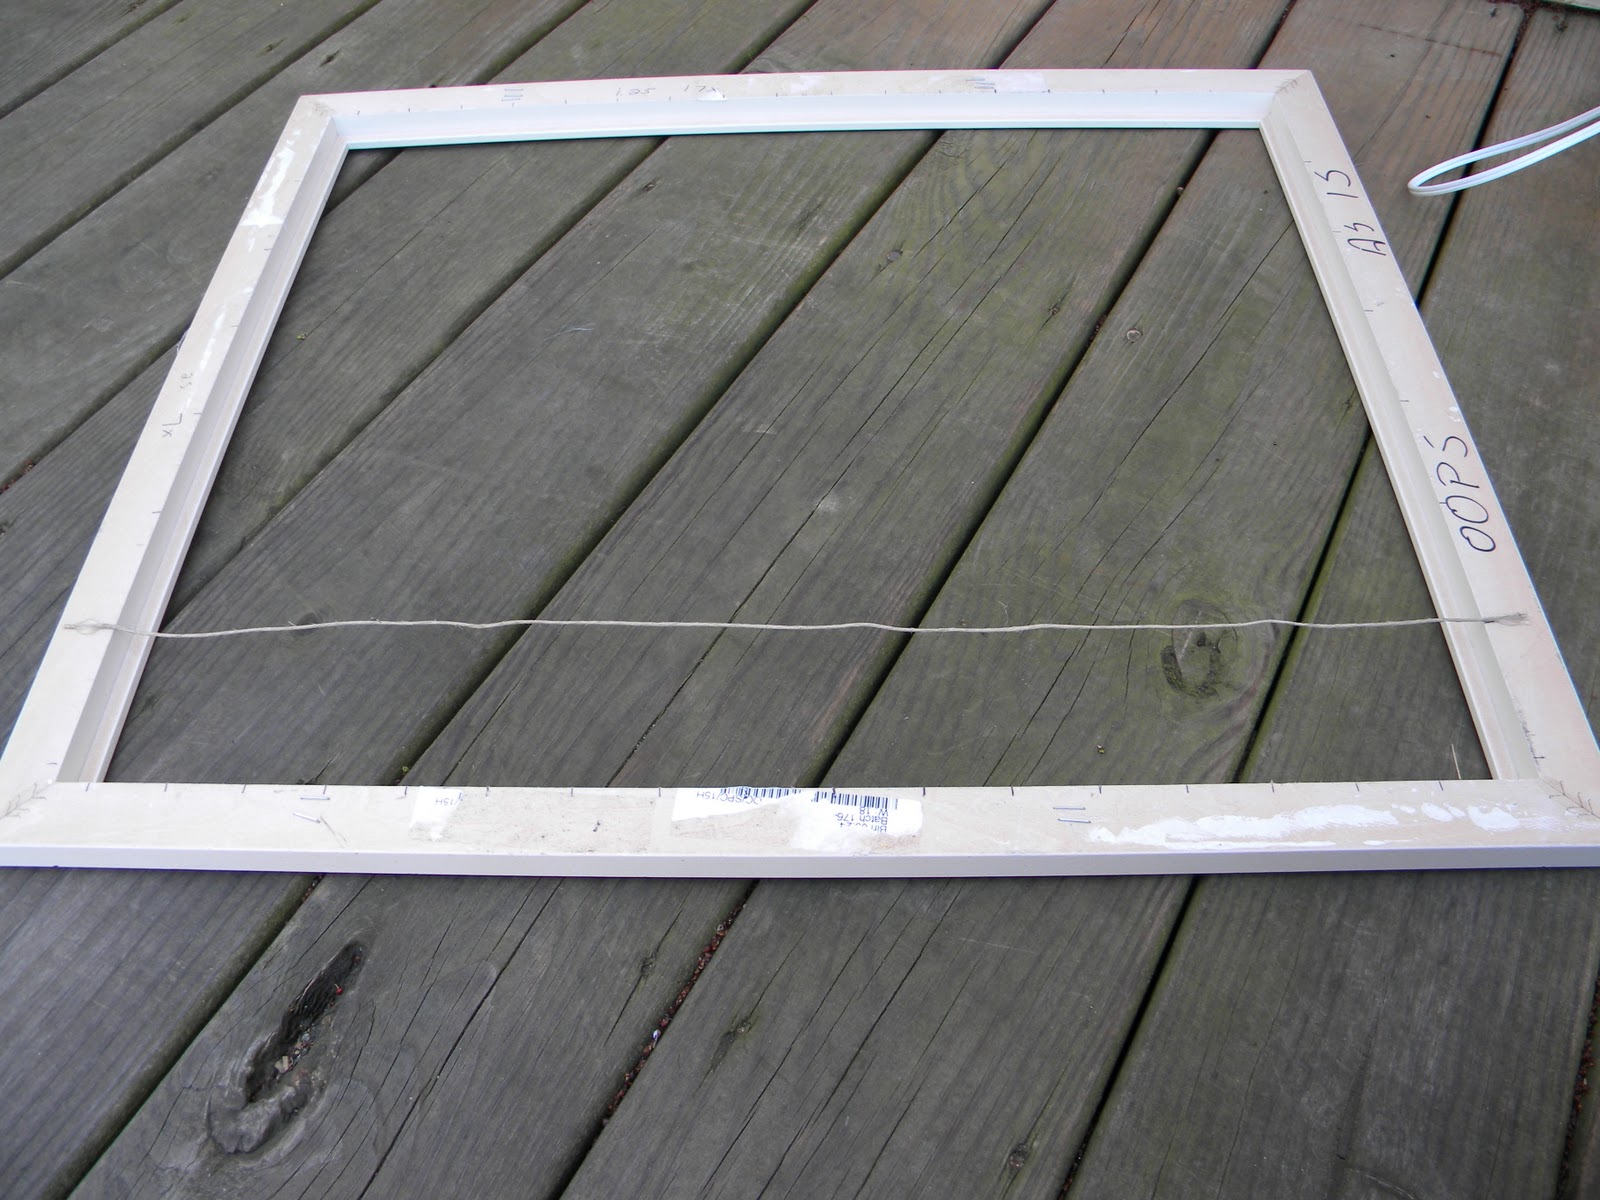
I bought a large picture frame out of the markdown bin at Michaels. Just the wooden frame, no glass. This was the most expensive piece, $8.00. It was already a color that worked for me so I didn't have to paint it. Bonus!
I bought a roll of hemp twine which is kind of expensive but I didn't use the whole roll. I've got plenty left for other projects.
I gathered my staple gun (fully loaded), hot glue gun (2 sticks of glue), a ruler and scissors.
It was a beautiful day yesterday. A little windy, but beautiful. So I set up to work outside. That way the boys could play and I could craft and keep an eye out to make sure they didn't wander away.

To begin with I had to measure the width and the length of my frame. Then I had to do my least favorite thing: Math. (Sorry Nana) Since I was going to be weaving a net of twine across my frame and I wanted it to be even, I had to figure out what would divide evenly into my two measurements (or as close as I could get them to). What I came up with was 2.5" for the height and 1.25" for the width. That meant I needed: 7 pieces of twine spaced 2.5" inches apart, to go across the height and 17 pieces 1.25" apart, to go across the width. I wrote it out on the frame back so I could remember.

I cut all my twine pieces out first.

Then, using my ruler, I measured out where each piece of twine should be attached.

I marked all sides and made sure that they matched up, going across.

Next, I put some hot glue on a mark and then pushed the end of the twine into it.
After that side had set, I stretched the twine across to the mark directly on the other side. Attaching that end with hot glue as well.

I continued to go down the row until I had all the twine rows going across horizontally.

I then started on the lines that would be my vertical rows. Turning the frame where my horizontal rows became vertical, I began the same process as before for attaching the twine. Except, I wove the strands through the others. Just a over under pattern.

Alternating with every new piece added. Like a tennis racket.

After all the twine was attached, I went back and doubly secured each one with a staple. I love my staple gun! It's so fun!

Then I decorated some clothes pins. See, I used the twine here too.

I also made some with chalkboard circles. Fun huh?
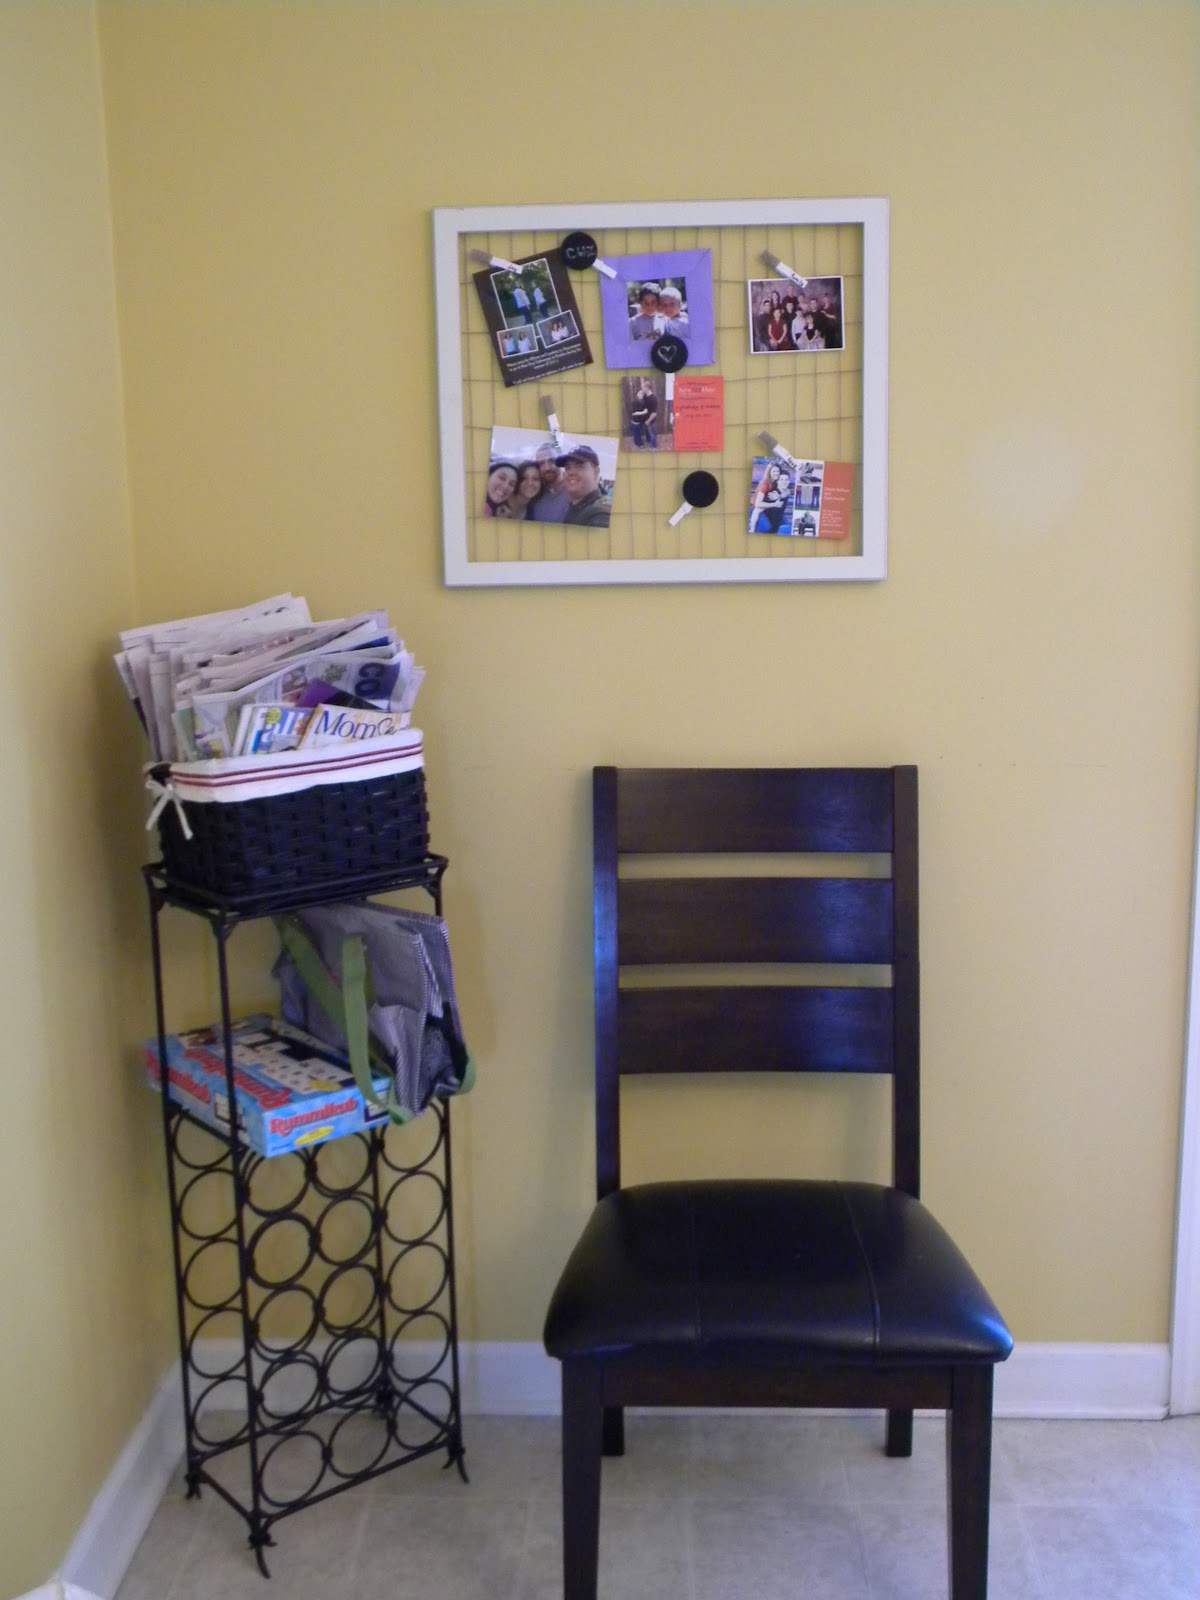
Then I hung it up and transferred some of my "stuff" over from the fridge. I'm really liking my less-cluttered fridge. I can't say de-cluttered because well, I've got lots of "stuff".


LOVE it...your idea is super duper CUTE!!! Hop over and share it at my party...hope to see ya there:)
ReplyDeleteBlessings,
Linda
I love this. I pinned it to try later!
ReplyDeletemegan
craftycpa.blogspot.com
I wonder if it would work well with chicken wire? That might look good in your kitchen as well.
ReplyDeleteVery cute. I'm always looking for new places to put things! Found you @ Momnivore's Dilemma.
ReplyDeleteVery cute! You did a great job!
ReplyDeleteThanks so much for linking to "20 Below Thursday"! :)
This is a great idea! Lovin' it.
ReplyDeleteI've been thinking about doing something similar to hang my jewelery. Great inspiration, and thanks for stopping by.
ReplyDeleteOh yes I've been meaning to make one of these for some time now. But oh the clothes pins! How adorable are those?!! Thanks for the great idea. I would be delighted if you would link this to my VIP party this weekend =) http://designergarden.blogspot.com/2011/04/vip-party-10.html
ReplyDeleteLove it! What a great idea, so useful and super cute!!
ReplyDeleteWhat a great idea! Stop over if u get a chance.........Bonnie
ReplyDeleteWhat a great idea and great tut!!!
ReplyDeletehttp://marnels.blogspot.com/
Oh this is such a great idea! I have some old frames, twine and pegs - I think I'll give this one a go!
ReplyDeleteThanks for linking to a Round Tuit!
Hope you have a great week!
Jill @ Creating my way to Success
http://www.jembellish.blogspot.com/
This is such a great idea and it looks awesome on your wall!
ReplyDeleteI love this idea. I have a backless frame that could use some love like this...
ReplyDeleteThanks for sharing this at Creative Juice! Hope to see you back at the party tonight!