Showing posts with label Tutorials. Show all posts

Tuesday, May 10, 2011

Car Craft Tutorial - Scoop Ball

I know you shouldn't run with scissors, but are they allowed in the car for crafting purposes?  Probably not too safe.  However, I made sure to tuck them snuggly in my purse when I was done with them so they wouldn't become a projectile in the event of an accident.  Although my purse would probably be pretty deadly.
Anyway, this is not a post about car and passenger safety.  This is a post about crafting on the go.  I've been wanting to make this scoop ball game for awhile and have had the 1/2 gallon milk carton's taking up space on my counter for too long.  So I decided, that it could be done in the car on the way to Josh's baseball game.

15 minute drive.  15 minute craft.
Cost: less than $5.00

Scoop Ball Supplies

2- 1/2 gallon plastic milk cartons, rinsed and dried
1 roll of fun Duct tape
scissors
small ball


 Before you leave the house cut your milk cartons in half horizontally about 3 inches from the bottom of the handle.  Regular scissors cut this for me.  


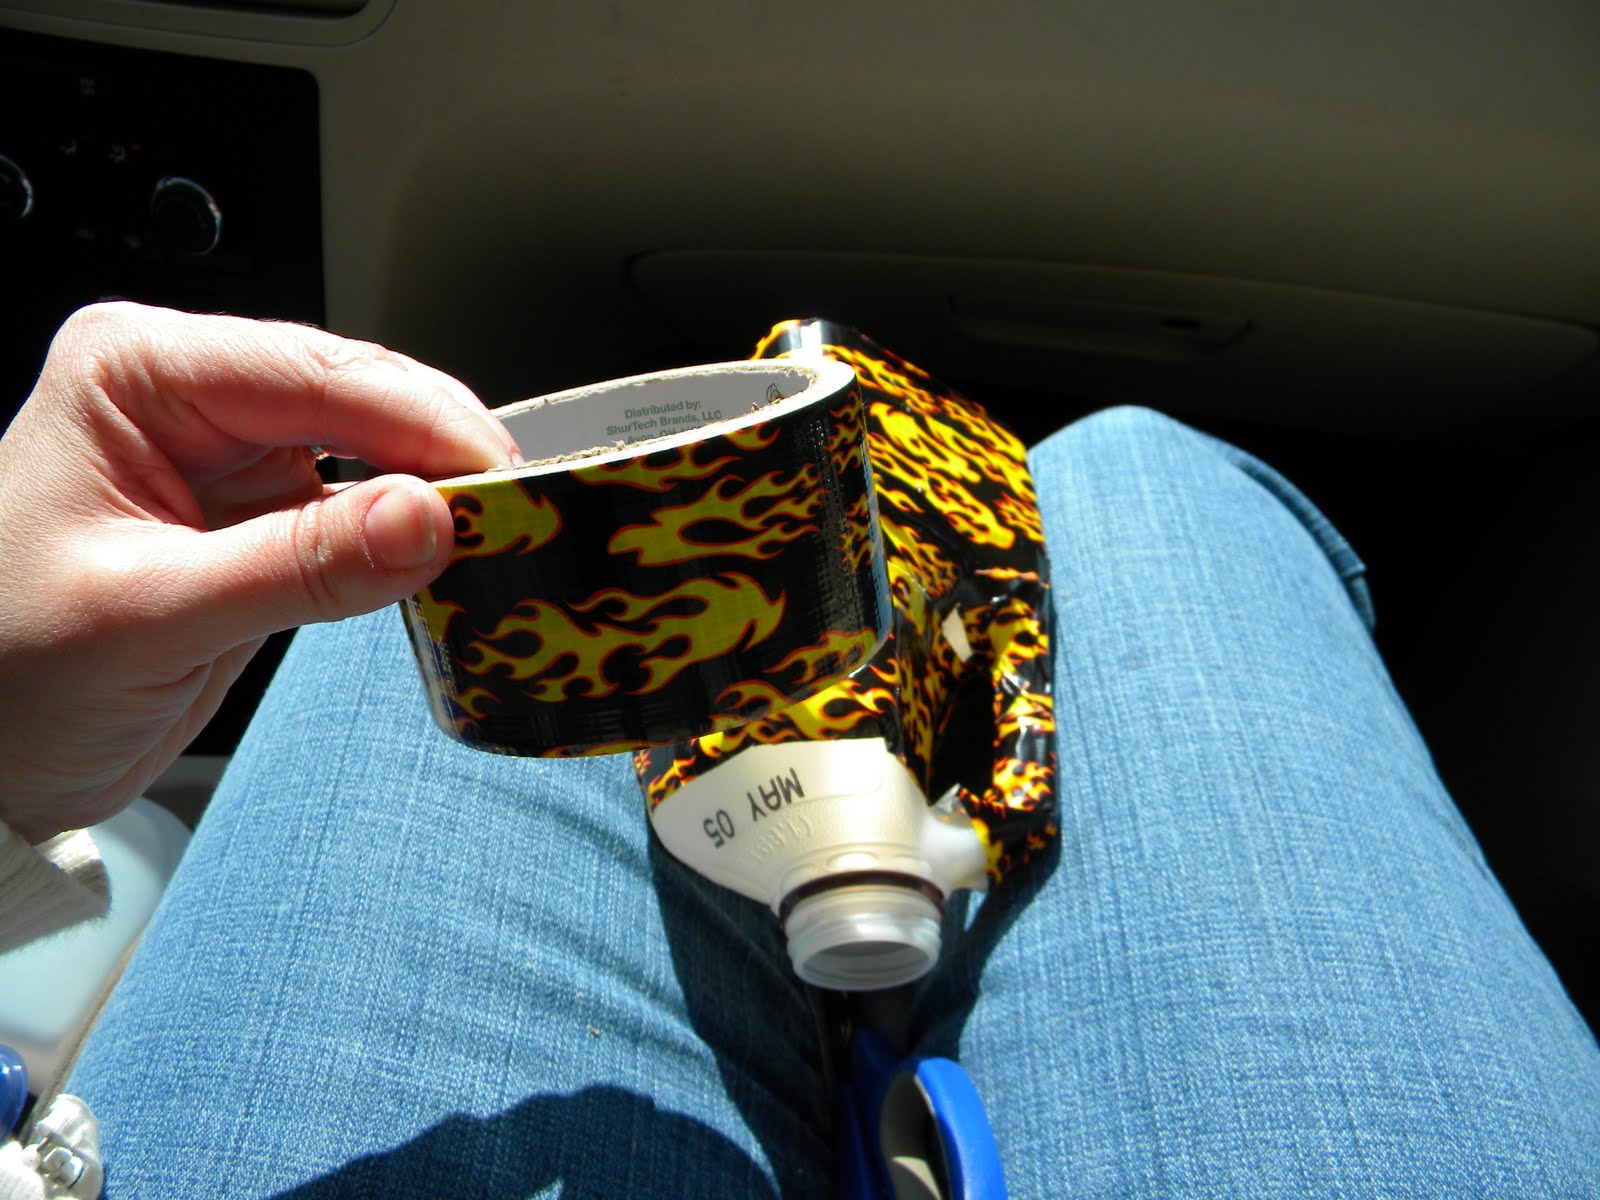
Begin taping at the cut edge by folding the Duct tape over into the inside.  You may need to snip at the  inside corners in order for it to have a good fit.  My son Caleb picked out this flaming Duct tape.  There are so many fun designs and colors to choose from.

Then I just wrapped it around the carton and I did one strip around at a time.  So I would cut after I had gone around once and then start on the next strip.  

I used smaller strips for getting around the handle.  I had lots of wrinkles in my tape, it did not go on smoothly, but I tried.  However, I think it still looks pretty good.  
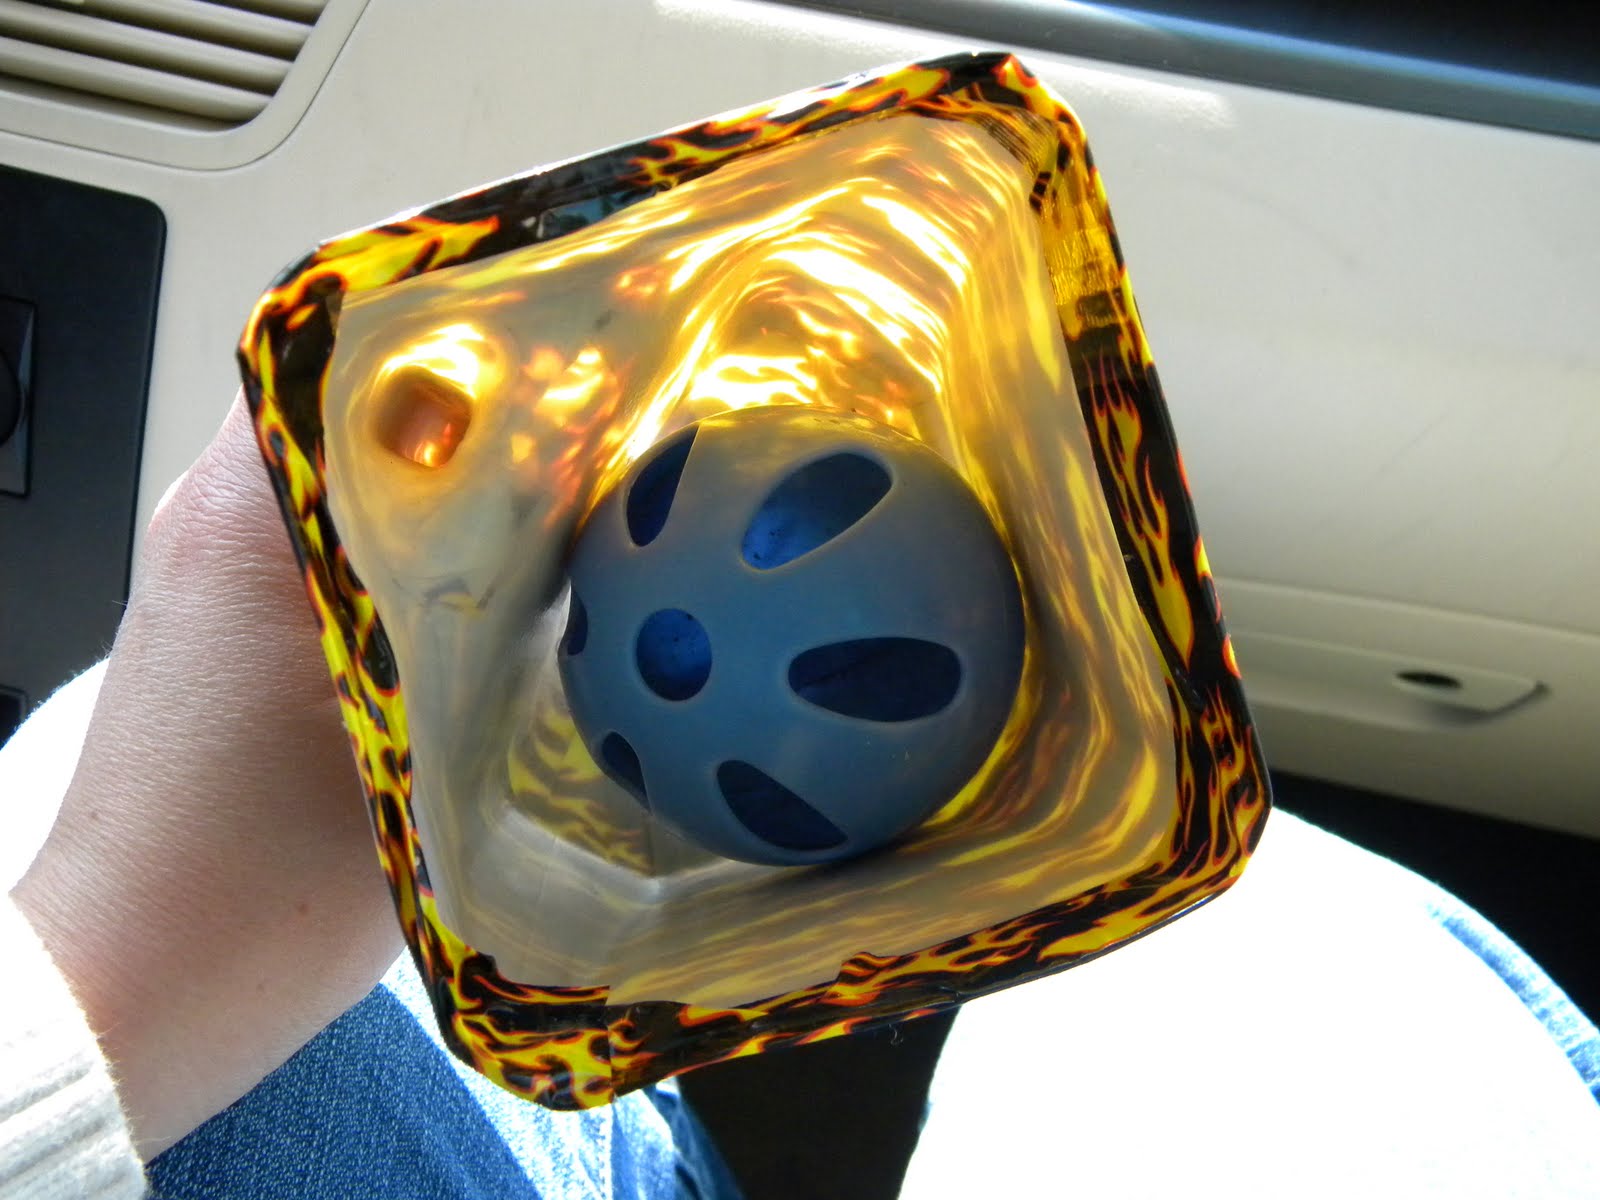
Repeat the process with your other carton and then find a ball that will fit inside without getting stuck.  This one worked okay but I think we are going to try to find one just a bit smaller.

To play scoop ball you need two players.  The object of the game is to toss the ball using your scoop and to catch the ball using your scoop (like Lacrosse?).  You can make up your own point system and rules.  We just like to toss it back and forth and then increase the distance for a challenge.  


Anything Related


Photobucket

Monday, May 2, 2011

Tutorial's Coming Soon!

Want to know how I did this?  I'll be doing a tutorial this week. 
Don't worry, you don't have to be an artist...

 How about making an applique?  This one's on a bib. 
I'll show you from start to finish how to go from fabric to finished applique.


 I also learned a few tips and tricks on using iron-on vinyl.  
I'll share with you how to make a vinyl easy wipe-off bib.  
Only a basic sewing knowledge is required, that's the only kind of sewing i do!

So stay tuned to check out these projects (and more)!!
 

Friday, April 8, 2011

Featuring You Friday - Sisters of the Wild West

I didn't do a Featuring You Friday post last week because, well, I forgot.  But I remembered this week, and I have a great blog to share with y'all!  Sisters of the Wild West has a lot of great tutorials for crafts and some awesome furniture redos.  These ladies are talented and they have an Etsy shop with a lot of fun stuff.  Go check them out and enjoy!


By the way, they are giving away this cute purse!  But they have a tutorial up for you to make one of your own if you don't win!

Fun Sheep Craft

This is a fun craft to do with your kiddos.  It does require supervising and with my two year old I had to help a lot.  But they are so cute and I just love how they look on my table.

Supplies needed:
Styrofoam egg
cotton balls
Elmer's school glue
scissors
wooden skewer
white paint
googly eyes
black paper or ribbon

Start by pulling your cotton balls in half.  Then put some glue on your Styrofoam egg and then press a cotton ball into the glue.  

We were using about that much glue per piece of cotton.

Keep gluing and adding cotton balls until it is completely covered.

Caleb didn't want to get his hands sticky with glue so he let me hold the egg, while he carefully pressed on the cotton balls.

Now for the legs.  Take a bamboo skewer and paint it white.  Then cut it apart into smaller pieces.  Cutting them to however short or tall you want your sheep to be.

Push the skewer pieces into the Styrofoam.

Then glue on your googly eyes and then a little triangle of black paper or ribbon for the nose. 

The ears are just little balls of cotton about this big.

Glue on the ears and say, "BAAAAAA!"

Didn't they turn out cute?!

I couldn't resist making a black sheep to hang out with them!

There they are in the grass, making a sweet centerpiece for my dining table. 


I had to share this picture of Simon with fuzzy, cotton fingers.  He was a little concerned.


Funky Junk's Sat Nite Special


Anything Related


lil luna link party button


Photobucket


Black Kats Design

Tuesday, April 5, 2011

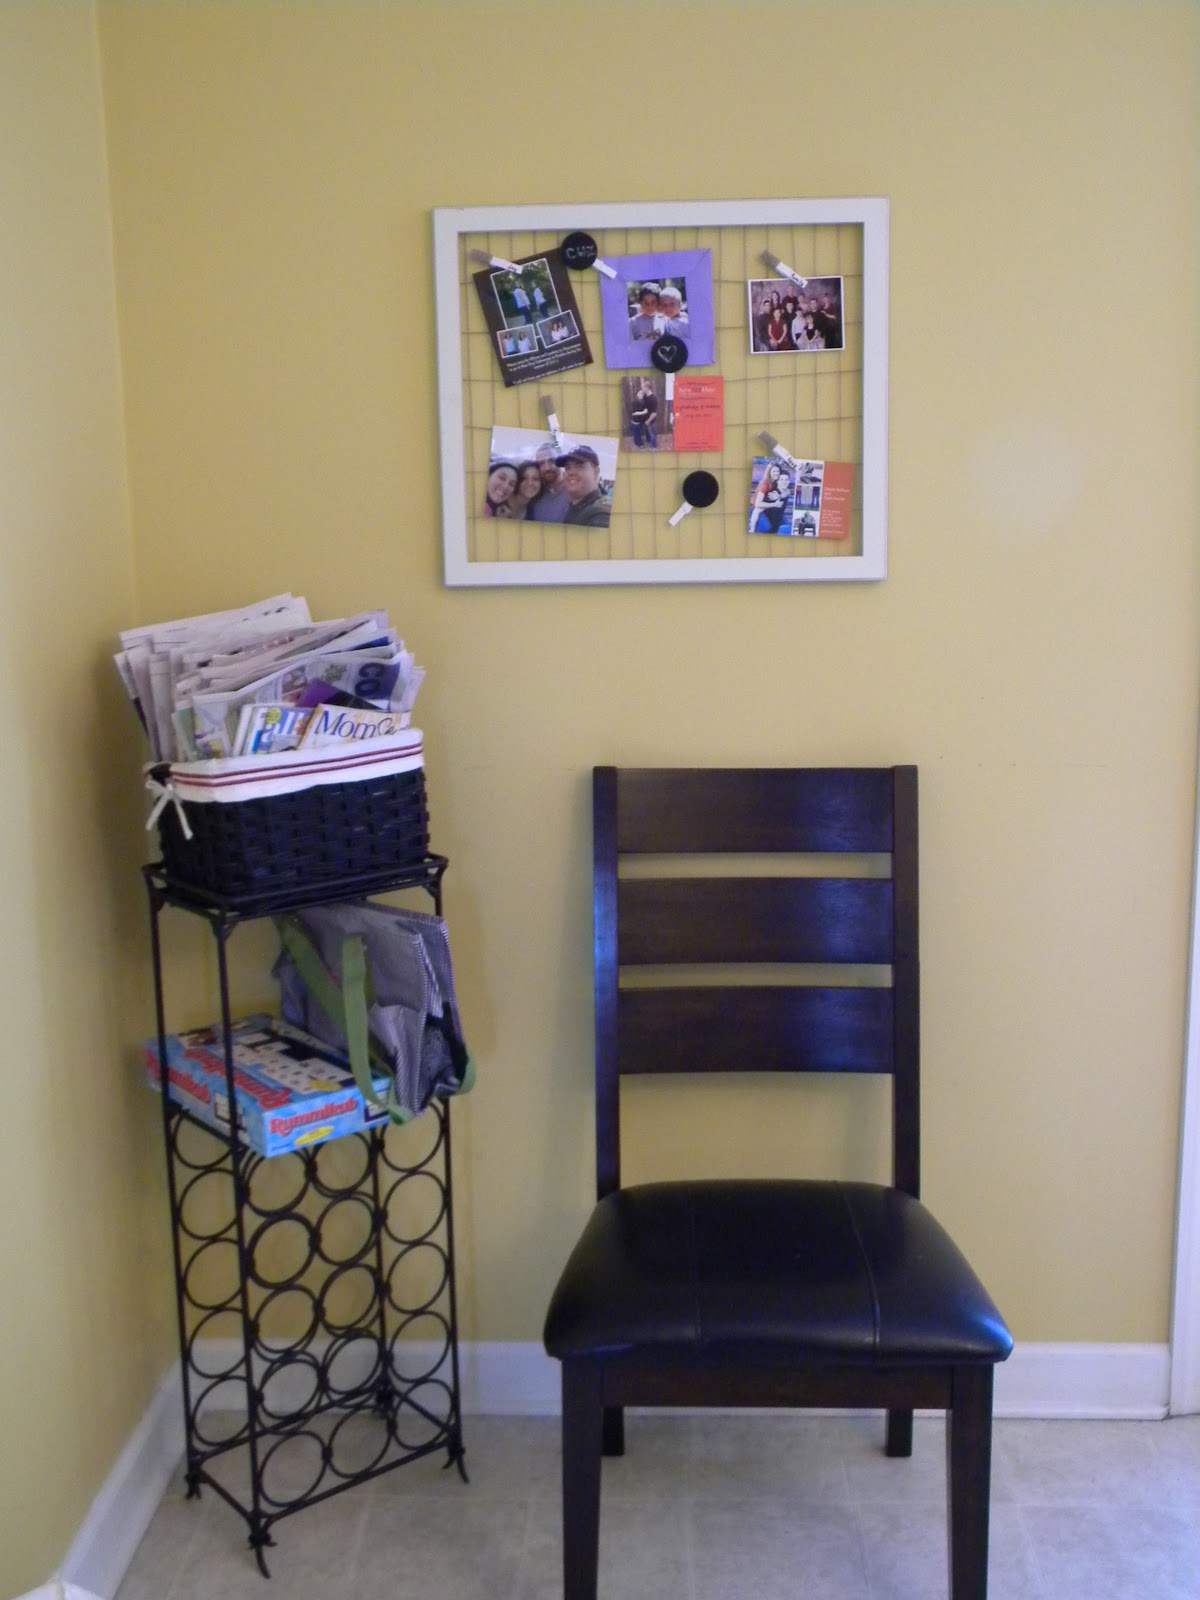
Twine and Clothes Pin Bulletin Board, Memo Board, What Do I Call This Thing?

My fridge always seems to collect "stuff".  It's not junk, because they are all things that are important.  School calendar, school lunch calendar, baseball game schedule, missionary prayer cards, Save the Date cards, etc...

I wanted to have some other place to put some of these things where A.) they weren't hidden away to be forgotten, and B.) they would almost seem like decoration while they were hanging out.  

I spent around $11 on my supplies and here is what I came up with.


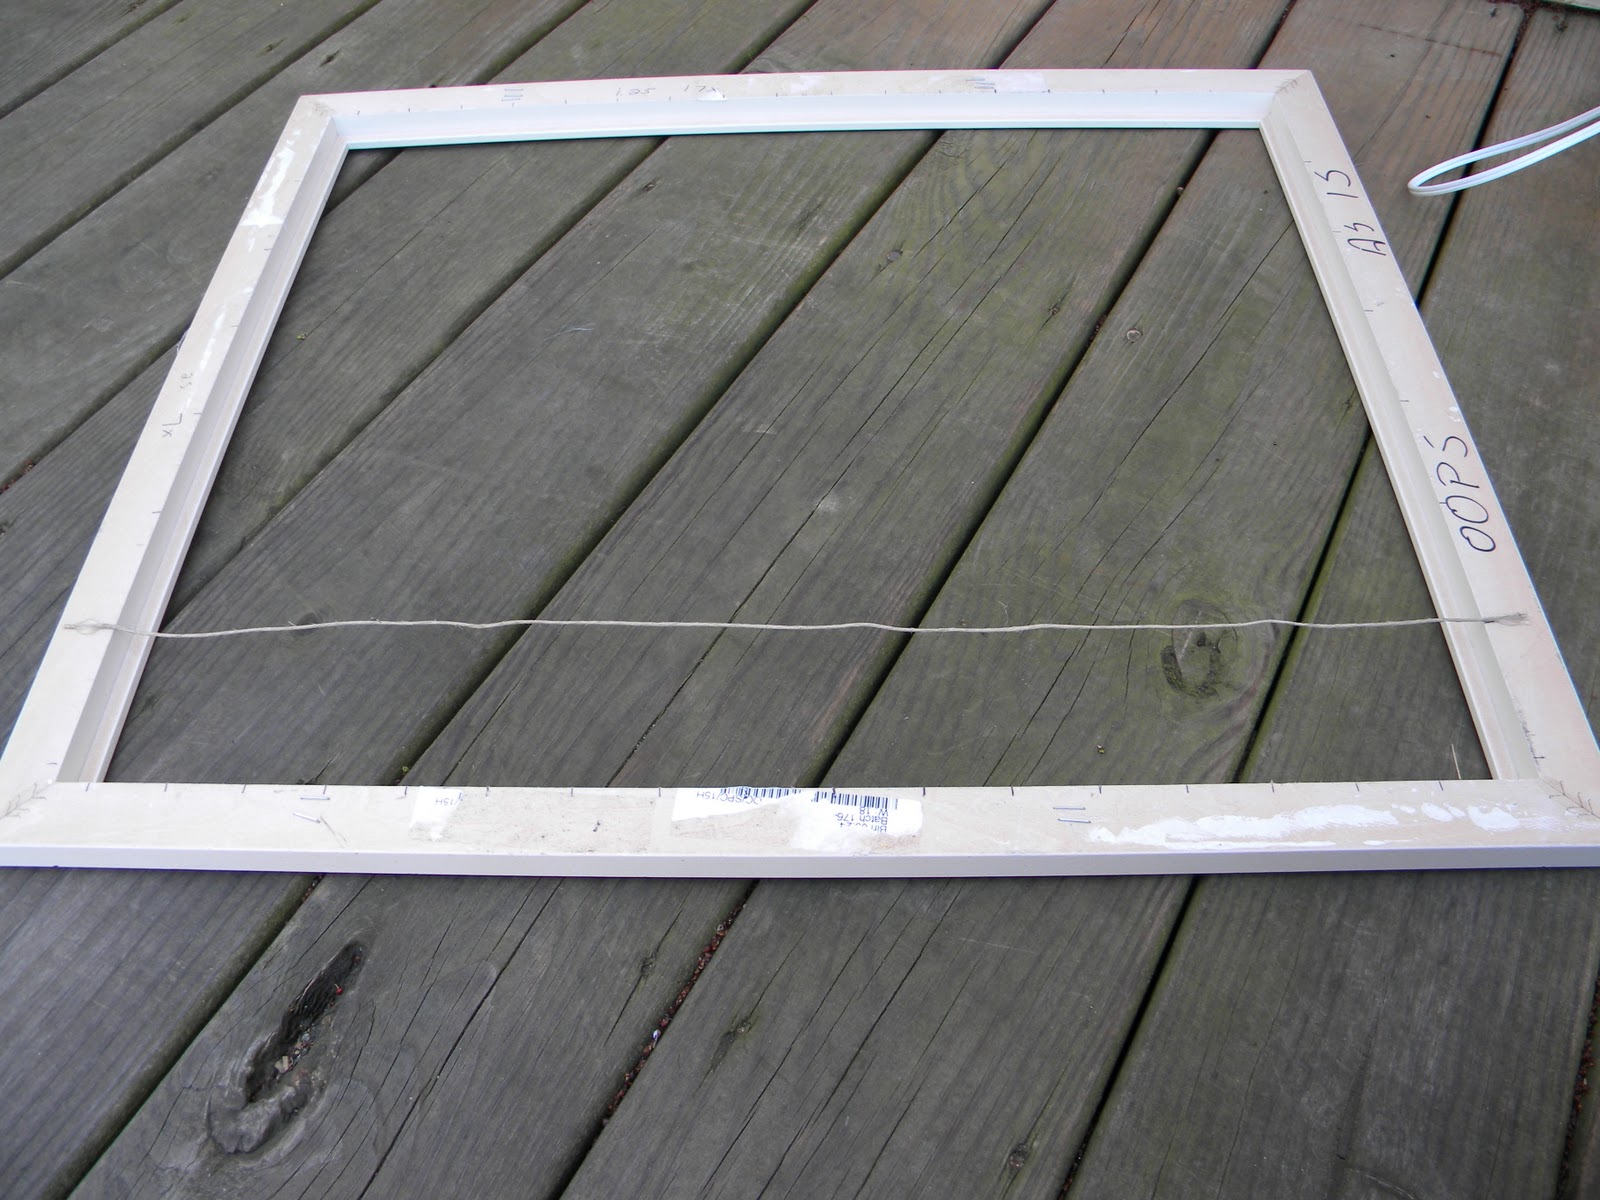
I bought a large picture frame out of the markdown bin at Michaels.  Just the wooden frame, no glass.  This was the most expensive piece, $8.00.  It was already a color that worked for me so I didn't have to paint it.  Bonus! 

I bought a roll of hemp twine which is kind of expensive but I didn't use the whole roll.  I've got plenty left for other projects. 

I gathered my staple gun (fully loaded), hot glue gun (2 sticks of glue), a ruler and scissors.

It was a beautiful day yesterday.  A little windy, but beautiful.  So I set up to work outside.  That way the boys could play and I could craft and keep an eye out to make sure they didn't wander away.

 To begin with I had to measure the width and the length of my frame.  Then I had to do my least favorite thing: Math.  (Sorry Nana)  Since I was going to be weaving a net of twine across my frame and I wanted it to be even, I had to figure out what would divide evenly into my two measurements (or as close as I could get them to).  What I came up with was 2.5" for the height and 1.25" for the width.  That meant I needed: 7 pieces of twine spaced 2.5" inches apart, to go across the height and 17 pieces 1.25" apart, to go across the width.  I wrote it out on the frame back so I could remember. 

I cut all my twine pieces out first.

Then, using my ruler, I measured out where each piece of twine should be attached.

I marked all sides and made sure that they matched up, going across.

Next, I put some hot glue on a mark and then pushed the end of the twine into it.


After that side had set, I stretched the twine across to the mark directly on the other side.  Attaching that end with hot glue as well.

I continued to go down the row until I had all the twine rows going across horizontally.

  I then started on the lines that would be my vertical rows.  Turning the frame where my horizontal rows became vertical, I began the same process as before for attaching the twine.  Except, I wove the strands through the others.  Just a over under pattern. 

Alternating with every new piece added.  Like a tennis racket.

After all the twine was attached, I went back and doubly secured each one with a staple.  I love my staple gun!  It's so fun!

Then I decorated some clothes pins.  See, I used the twine here too.  

I also made some with chalkboard circles.  Fun huh?

Then I hung it up and transferred some of my "stuff" over from the fridge.  I'm really liking my less-cluttered fridge.  I can't say de-cluttered because well, I've got lots of "stuff". 


Anything Related

 http://linda-coastalcharm.blogspot.com/

lil luna link party button


NightOwlCrafting


Black Kats Design


giveaways


Photobucket


Chic on a Shoestring Decorating


Photobucket


Join  us Saturdays at tatertotsandjello.com for the weekend wrap 
 up           party!


Funky Junk's Sat Nite Special


Keeping It Simple


The Girl Creative


Anything Related


lil luna link party button


Photobucket


Swidget 1.0