Showing posts with label Cakes. Show all posts

Monday, February 28, 2011

Recipe of the Week - Chocolate Chip Cupcakes

This recipe comes to you courtesy of my newest cookbook, Martha Stewart's Cupcakes.  This is an awesome recipe and I think you and your family will enjoy the lightness of this cupcake and of course everything is better with chocolate chips!  You can frost these but I chose not too and I don't regret it.  Martha pairs them with a dark chocolate frosting.  But I have to say, they taste wonderful with out frosting.  Like a fluffy chocolate chip cookie. 

Ingredients:

3 1/4 cups plus 1 T sifted cake flour (not self-rising)
4 1/2 tsp baking powder
1/4 tsp salt
1 T pure vanilla extract
1 cup plus 2 T milk
1/2 cup plus 6 T (1 3/4 sticks) unsalted butter, room temperature
1 3/4 cups sugar
5 large egg whites, room temperature
2 cups (12 oz) semisweet chocolate chips
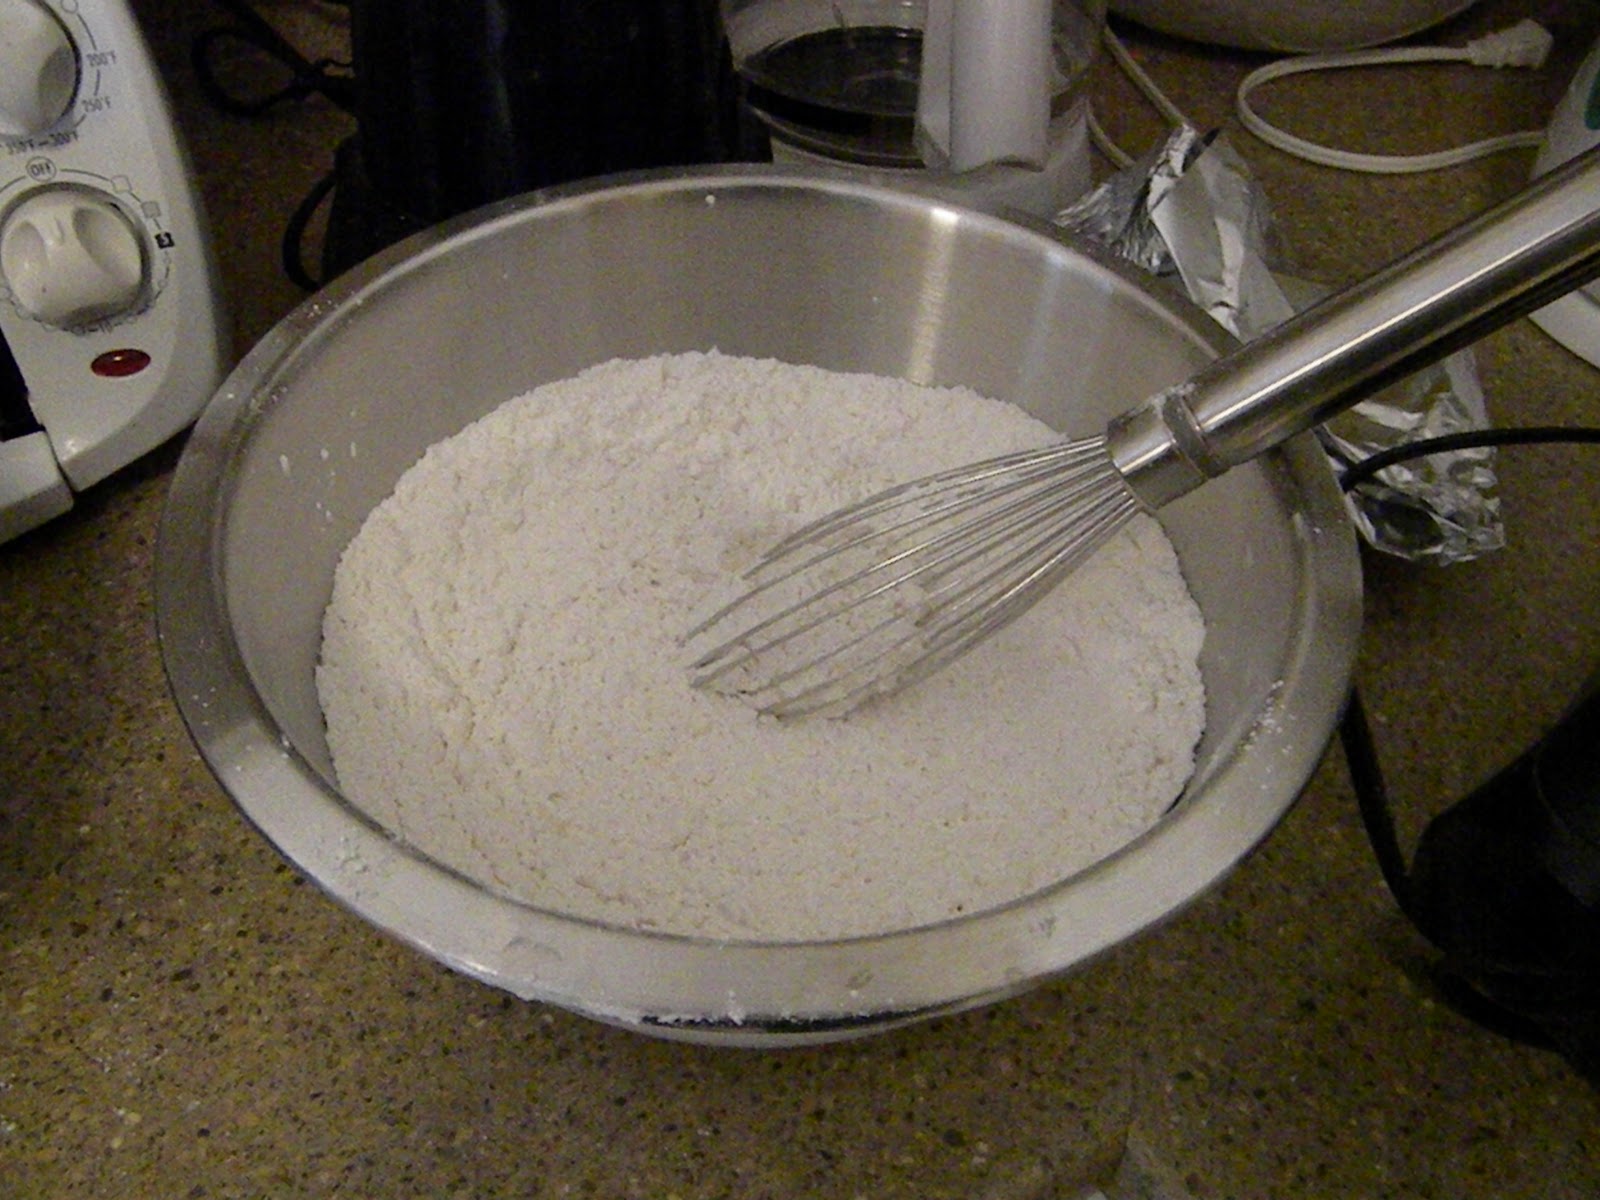
Preheat oven to 350 degrees.  Line standard muffin tins with paper liners.  Whisk together 3 1/4 cups cake flour, the baking powder, and salt.  It does say to sift your cake flour, but I did not.  I guess it's up to you.  I will try it next time to see if I like it better.
Stir the vanilla into the milk to combine.

With an electric mixer on med-high speed, 
cream butter until smooth.  Adding the sugar
in a steady stream, beat until pale and fluffy. 

Reduce speed to low.  Add flour mixture in three batches, 
alternating with two additions of milk mixture, 
and beating until just combined after each.

In another bowl, with an electric mixer on medium speed, 
whisk the egg whites until stiff peaks form (do not overmix).

Fold one-third of the egg whites into the batter to lighten.  
Gently fold in remaining whites until just combined. 

Toss chocolate chips with remaining tablespoon of cake flour.  
This keeps your chocolate chips from sinking to the bottom.

Gently fold the chips into the batter.

Divide batter evenly among lined cups, 
filling each three-quarters full.  
It filled 2 regular sized muffin tins and...

a 24 count mini muffin tin  too!

Bake, rotating tins halfway through, until a cake tester 
inserted in centers comes out clean and the tops are 
springy to the touch, about 22 minutes.  Transfer tins 
to wire racks to cool completely before removing cupcakes.

 Cupcakes can be stored overnight at room temperature, 
or frozen up to 2 months, in airtight containers.


Sumo Sweet Stuff

The Girl Creative


Funky Junk's Saturday Nite Special

Monday, January 31, 2011

Valentine's Goodies

X's and O's (Kisses and Hugs)

Chocolate Cupcakes with hearts

Conversation Heart cake pops

Sprinkles

More sprinkles

I heart you!

This and more can be ordered over at my Cakes Before Me blog!

Thursday, November 18, 2010

Caleb's 5th Birthday

Caleb turned FIVE this past weekend!  For weeks up until his birthday he would ask, "Am I five yet?"
Now that he is five he asks, "Am I still 5?"
We had a little party on Saturday and the weather was beautiful which was a good thing since all our games and activities we planned on doing at the park.  When our guests arrived we took kites, bubbles and our big bowling set down to the park and played for about 45 minutes.  Then we came back to the house for cake, ice cream and of course presents!  It's so nice that Caleb has made some friends at school and that they were able to come and celebrate with us.  

Blowing bubbles with friends.

Troy helping M get ready to fly a kite.  There is Josh and Simon in the background.

There was some horse racing with Caleb and his friend H.

Boys being boys.

Caleb and his Star Wars birthday cake.

Getting ready to sing "Happy Birthday".

Caleb and his friend M.

Caleb and his friend C.  
Caleb, with Simon's help, used up all the finger paint that very night!

Caleb and his friend H.  Caleb went to play at H's house last week after preschool and had a blast.

Here is Caleb with his musical card...he loves it!  
He has been begging for a card that "plays music" for a while now.
Funny little guy!

Here is the race car track that he got thanks to gift cards and money from family members.  
All the boys have loved playing with this!

We are so thankful for you Caleb and we are enjoying watching you turn into a thoughtful and funny young man!  May the Lord lead you and guide you in all you do!  We love you!

Thursday, September 2, 2010

Recipe of the Week - Orange Soda Cup Cakes

This is a recipe from a Betty Crocker cookbook, Decorating Cakes and Cupcakes.  I have made several of the cake recipes out of this book but this was the first time for me to make this particular one. The recipe given below is the one from the book. I think they turned out tasting good and they looked pretty too but the orange flavor wasn't as strong as I expected it to be.  It may have been because I did not have any oranges to get grated orange peel from and so I added some extra orange soda.  I am not sure.  I will definitely try it again and make sure I have the oranges next time. 


Ingredients needed:
2 cups all-purpose flour
3/4 cup sugar
1/3 cup butter or margarine, softened
1 cup orange-flavored soda pop
1 tsp baking powder
1/2 tsp baking soda
1/2 tsp salt
1/2 tsp grated orange peel
2 large eggs

 Heat oven to 350 degrees.  Place a paper baking cup in each of 24 regular-size muffin cups.  Or it makes 12 regular-size and 24 mini-size cupcakes.

 In medium bowl, beat all ingredients with electric mixer on low speed 30 seconds, scraping bowl occasionally.  Beat on medium speed 2 minutes, scraping bowl occasionally. 

 Divide batter among the muffin cups.

Bake 20 to 25 minutes or until toothpick inserted in center comes out clean. 

Cool completely, about 1 hour.

You can frost them with whatever kind of frosting you would like.  I made a Creamy Vanilla Frosting and used my Pampered Chef decorator to pipe the frosting on.  I just made a circle around the outside of the cupcake and then spiraled in toward the center.

Then I sprinkled on some orange decorating sugar.

Mmmmmm!  Really yummy!

giveaways


Funky Junk's Sat Nite Special

Tuesday, June 8, 2010

Cowboy Cake


I made this Cowboy Cake for a baby shower this weekend.  These sweet friends are having their first baby and, "It's a Boy!".  I am so excited for them.  I really enjoyed making the cake.  The brown frosting is actually chocolate but all the other is regular buttercream.  I hope to take some cake decorating classes and learn more when we get settled in Virginia. 

Thursday, May 20, 2010

Flower Cupcakes

I made some marshmallow flower cupcakes for a friend's baby shower a couple of weeks ago.  They turned out cute so I thought I would share what I did with you all.  I saw this design in my Betty Crocker Decorating Cakes and Cupcakes book.

I made chocolate cupcakes and then made a light-pink buttercream frosting to frost the top of the cupcakes.  Then I took jumbo marshmallows and using dampened kitchen shears, I cut them crosswise into 5 pieces.


Then I dipped one side of each petal into colored sugar. 


After making 5 petals for each cupcake I arranged the petals on the cupcakes, pressing down a little bit to make sure they stuck in the frosting and wouldn't fall off during the drive.


Now I had all the flower petals on but I needed a center.  What is the middle of a flower called?  A stigma?  Anyway, the book has you put a candle in each middle if it's for a birthday or a round colored candy if candles are not appropriate.  I didn't have any round candies so I just made a pink frosting that was darker than the pink frosting under the petals and used a round decorator tip to make a center. 


Here is the finished cupcakes set in their stand at the shower.  I thought they turned out rather pretty and I received lots of nice compliments on them.  Really it didn't take that long to do and it was much easier to make marshmallow flowers than to pipe them on with icing.  That's just my opinion though.


Swidget 1.0