Showing posts with label Mod Podge. Show all posts

Wednesday, March 16, 2011

Welcome Spring Wreath

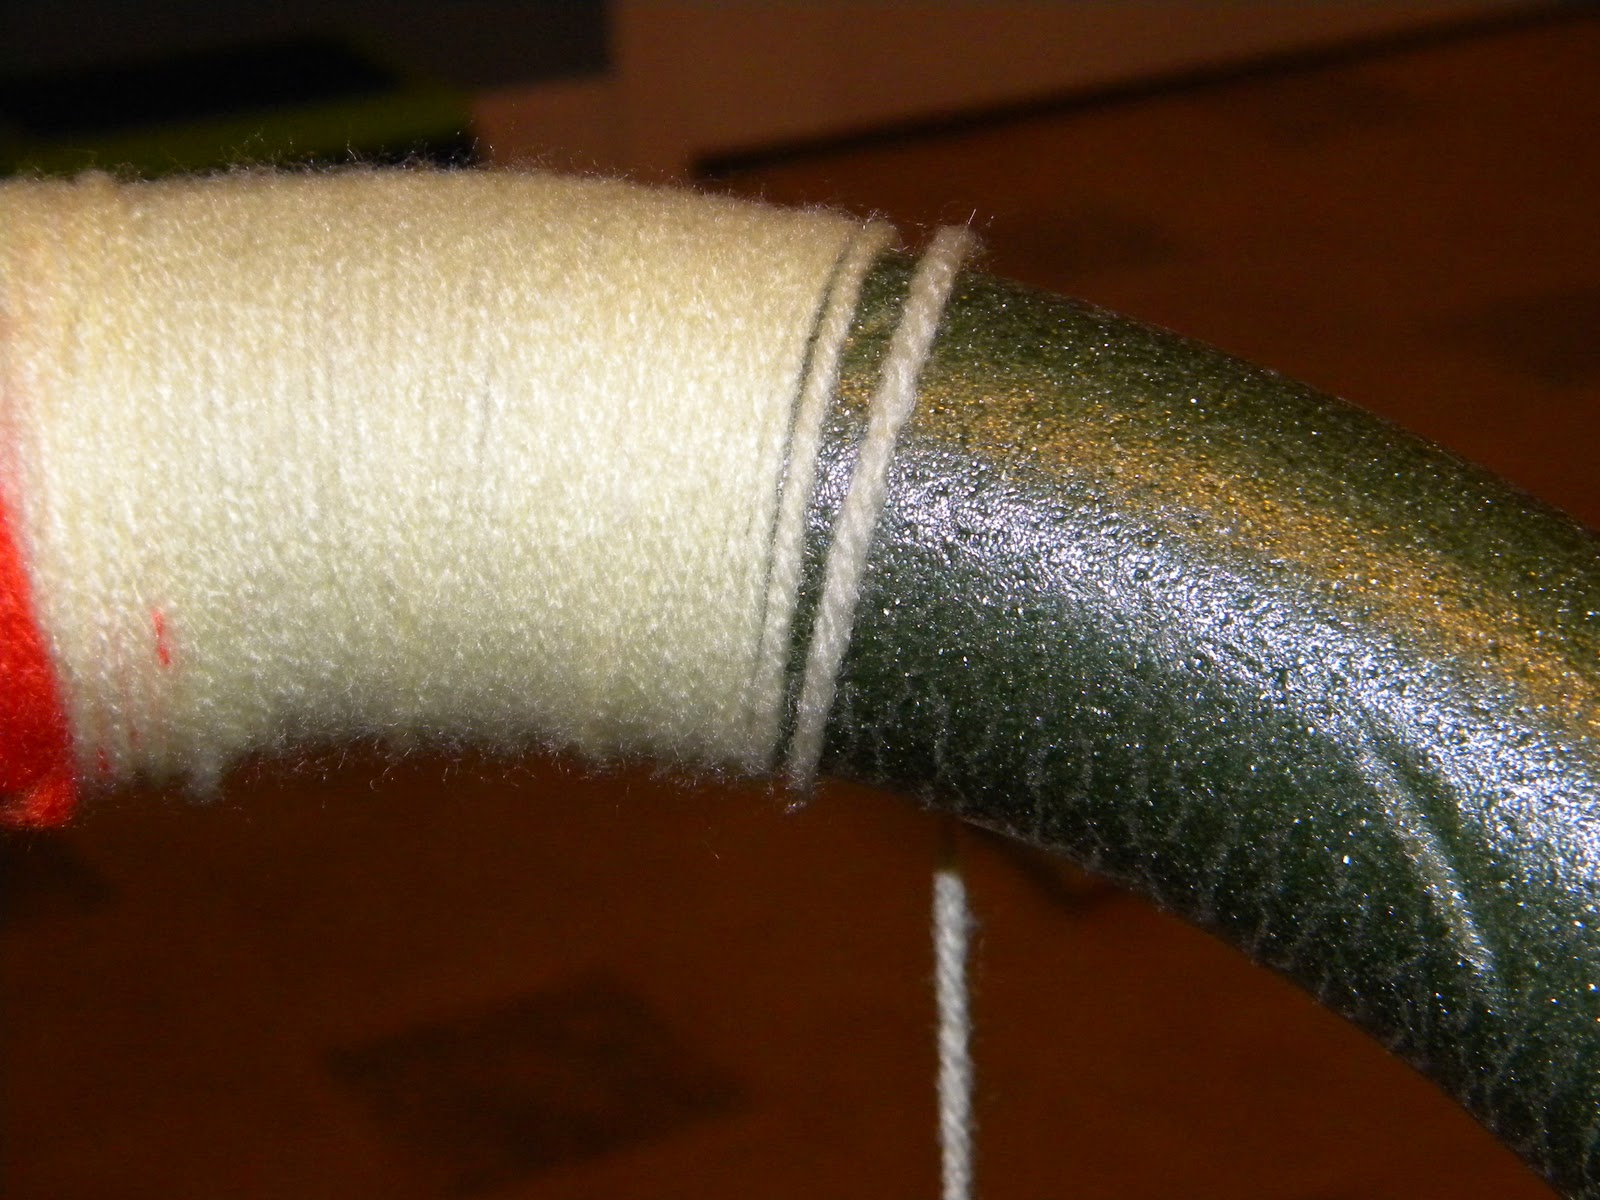
When I think of rainbows; I think of promises, Spring and friends.  So making a rainbow colored wreath for my front door was the perfect way for me to get into the swing of Spring.  I bought yarn of every color of the rainbow and started with the red, wrapping it around my styrofoam wreath.  I tried to keep the sections of color even as I went.  I don't think I did a great job at that but it still turned out looking good.


Keep it tight as you wind and push the strands together.  I tied them off at each section, making sure my ties were on the back side.

 I hung it up but realized it needed something more.

I made this little cloud sign using cardstock, which I sent through the printer to get the greeting.  Then used Mod Podge and glitter around the edge.  

Welcome Spring!!!


giveaways


Photobucket

Chic on a Shoestring Decorating


Join  us Saturdays at tatertotsandjello.com for the weekend wrap up
    party!


UndertheTableandDreaming


Keeping It Simple

craft

Sumo Sweet Stuff

The Girl Creative


Photobucket

Thursday, March 3, 2011

E A T Sign Tutorial


I've seen lot's of variations on this sign and so I thought I would come up with my own. I have some records that I've been wanting to craft with and I thought they would be excellent for this project.  I included a tutorial on how I made mine, just in case you wanted to make one of your own. 

1.  I purchased these wooden letters from JoAnn Fabrics.  I used acrylic paint in the color Espresso.  I brushed on 2 coats.

2.  While the letters are drying gather your records.  One for each letter and wipe them down with a damp cloth.  Mine were a little dusty. 

3.  Gather your other supplies:  3-12x12 pieces of decorative scrapbook paper, an Exacto knife,  Mod Podge, a paint brush,  newspaper to lay it all out on, and a mat that you can safely cut on.

4.  Take your record and brush a coat of Mod Podge onto one side.  Then paint a coat onto the backside of the decorative paper.  Place your record (glue side to glue side) onto the middle of the paper.

5.  Turn the record over and using your hand smooth out the paper from the center out to the edges.

6.  Let the paper dry a little bit so it will be easier to cut.

7.  Using your exacto knife cut around the record leaving about an inch of paper all around.

8.  Using your exacto knife make slits in your paper from the outside of your record to the end of your paper.  Make these all the way around.

9.  As you can see, by cutting the slits you have made little tabs.  Brush on some Mod Podge at the edge of the record and then one by one fold the tabs down onto the record.


10.  After you have glued down all the tabs let it dry for a bit.

11.  Lay out your paper covered records and place your letters on them to figure out placement.  

12.  Once you know where you want them use a glue to put the letters on.  I used Elmer's but you could probably use Mod Podge and it would work just as well.  I think hot glue would be too bulky.  

13.  I used big paper clips for my hanging hardware.  I just bent the big loop out from the small loop a tad.  I marked on the record where they should be glued.

14.  I used hot glue to stick the paper clip to the back of the record.  I just pushed the small loop into the glue and then let it dry.

15.  When everything is completely set and dry then you can hang them on the wall!  


giveaways

Chic on a Shoestring Decorating


Funky Junk's Sat Nite Special


craft


UndertheTableandDreaming

Monday, October 11, 2010

Fall Decorating and Halloween Art

I've been doing a little decorating around here.  Just little touches here and there.  Fall is my favorite season.  I love the colors, sights and smells of fall. 
No spring nor summer beauty hath such grace
as I have seen in one autumnal face
by John Donne

I had the boys make pumpkins using the pinky-side of their fists
for the pumpkin and then their finger for the stem and their thumb for the leaves. 

These are hanging on a wall in my kitchen/dining room.

I enjoy looking at them whenever I am in the room.

Here's a smiling fellow to grace the top of a stack of books.

I've draped leaf garland throughout the house. 
This is the top of the piano in the living room.

I made some candy corn bottles and have set them around in various places.
It's just acrylic paint on an IBC cream soda bottle.

Baby pumpkins are hanging out in my kitchen/dining room. 
Along with some ears of Indian corn.

And here is my Halloween art.  I finished this yesterday.  This is not a very good picture.  I'll try to take a better one later.  It's a 12x12 canvas that I quartered.  Then I painted each square differently.  Except for the words...that is scrapbook paper and so are the polka dots.  The pumpkin, Frankenstein and black cat are all wooden cutouts from Michael's that I painted using acrylic paint and then covered in Mod Podge.  Before I put them on I covered the whole canvas and the scrapbook paper with Mod Podge and then I used Mod Podge to glue the wooden cutouts to the canvas. 
I'm not sure where I will hang this yet.  Perhaps in the hallway leading into the kitchen/dining room? 

Happy Fall Y'all!

All Thingz Related


Monday, September 13, 2010

Give Thanks Sign Tutorial

I've been seeing all kinds of cute decorations for the Fall season.  Michaels and JoAnns have some really cute things and of course, out there in blogland, there is always amazing stuff.  I knew I could make my own though, and I wanted to use things that I already had to hand.  It seems that I have a never-ending supply of scrapbook paper and I would love to make a dent in it.  So my brain came up with this.  Hope you enjoy!
I started with this pewter frame that had it's glass broken a long time ago.  I kept thinking I would use it for something eventually.  It's day had come!  Time to be useful again.

This is the frame after several coats of acrylic paint.  This doesn't take too long to dry and should be completely dry by the time you are finished with your art!

Then I had to decide what I wanted it to say.  That sometimes takes awhile for me.  Anyway, after I decided  I used green glitter stickers and stuck them on brown paper.  I then cut them out leaving a shadow of the brown paper around the letters.

Then I spaced them out on my paper and began using Mod Podge Paper to glue them to a brown-spotted paper.

I just use a paint brush to apply the Mod Podge. 
You get a little messy but it works really well.

Here are the letters glued to the brown-spotted paper. 

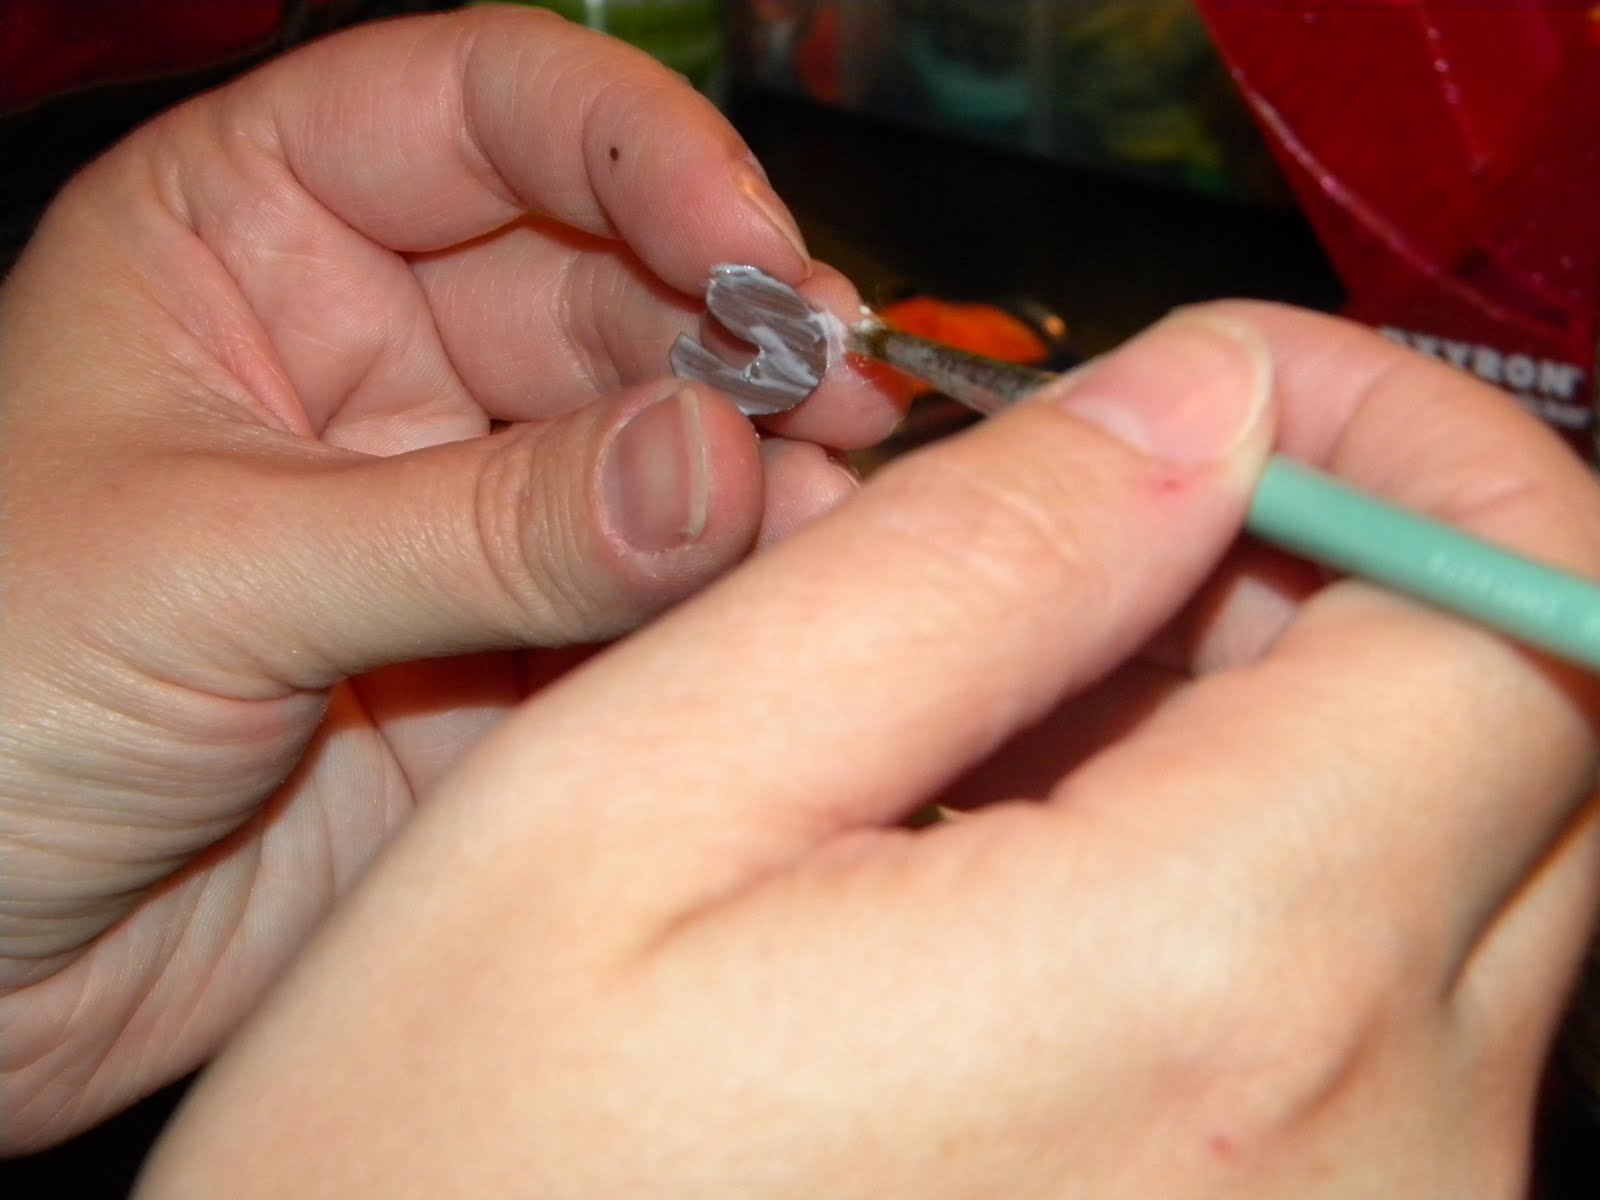
Then I took a brown button and Mod Podged on two googly eyes, and a beak/waddle. 

Then I made turkey feathers out of brown, yellow and orange paper.  I made 3 yellow, 3 brown and 2 orange.

Then I glued them down in the pattern
that I wanted for my turkey tail.

I hot glued the turkey head onto the tail.  Then I picked out other orange buttons to be my pumpkins and hot glued them on as well.

Then I took floral wire and used a small screw driver and my wire cutting pliers to make a curly cue for a pumpkin vine.  You just wrap it around as many times as you would like and you may have to use the pliers to bend it and mold it. 

Then I attached my vines to the pumpkins using hot glue.  Only after I completed this did I realize that I should have measured where my frame would be.  It did not fit in the frame!  Oh it frustrated me so bad that I made such a stupid mistake!  So I had to leave it for a while and then come back to fix my problem.

So this time I chose a piece of brown paper to put everything on and I made sure to make marks on the paper for where everything needed to be.  I cut the letters out on a strip of the brown-spotted paper and ran it through my sticker machine.  I love that thing! 

  I cut out my turkey and around the pumpkins. 
I used Mod Podge Paper to glue them down.

So this was my new layout.  Not exactly like I had invisioned but not too bad either.  Still it needed a way to hang it on the wall.

I had lost the back to this frame at the same time the glass was broken in it.  So I cut out a piece of cardboard to size and then hotglued a string of ribbon at the top to be the hanger.

There it is!  Finished.  I could make several different themed pieces to hang inside for each season. 
It would be easy enough to switch out. 

I hope you enjoyed it and if you have any questions about the tutorial feel free to email me or leave me a comment and I will respond as soon as I can.




Swidget 1.0