Showing posts with label Crafty Projects. Show all posts

Tuesday, May 10, 2011

Car Craft Tutorial - Scoop Ball

I know you shouldn't run with scissors, but are they allowed in the car for crafting purposes?  Probably not too safe.  However, I made sure to tuck them snuggly in my purse when I was done with them so they wouldn't become a projectile in the event of an accident.  Although my purse would probably be pretty deadly.
Anyway, this is not a post about car and passenger safety.  This is a post about crafting on the go.  I've been wanting to make this scoop ball game for awhile and have had the 1/2 gallon milk carton's taking up space on my counter for too long.  So I decided, that it could be done in the car on the way to Josh's baseball game.

15 minute drive.  15 minute craft.
Cost: less than $5.00

Scoop Ball Supplies

2- 1/2 gallon plastic milk cartons, rinsed and dried
1 roll of fun Duct tape
scissors
small ball


 Before you leave the house cut your milk cartons in half horizontally about 3 inches from the bottom of the handle.  Regular scissors cut this for me.  


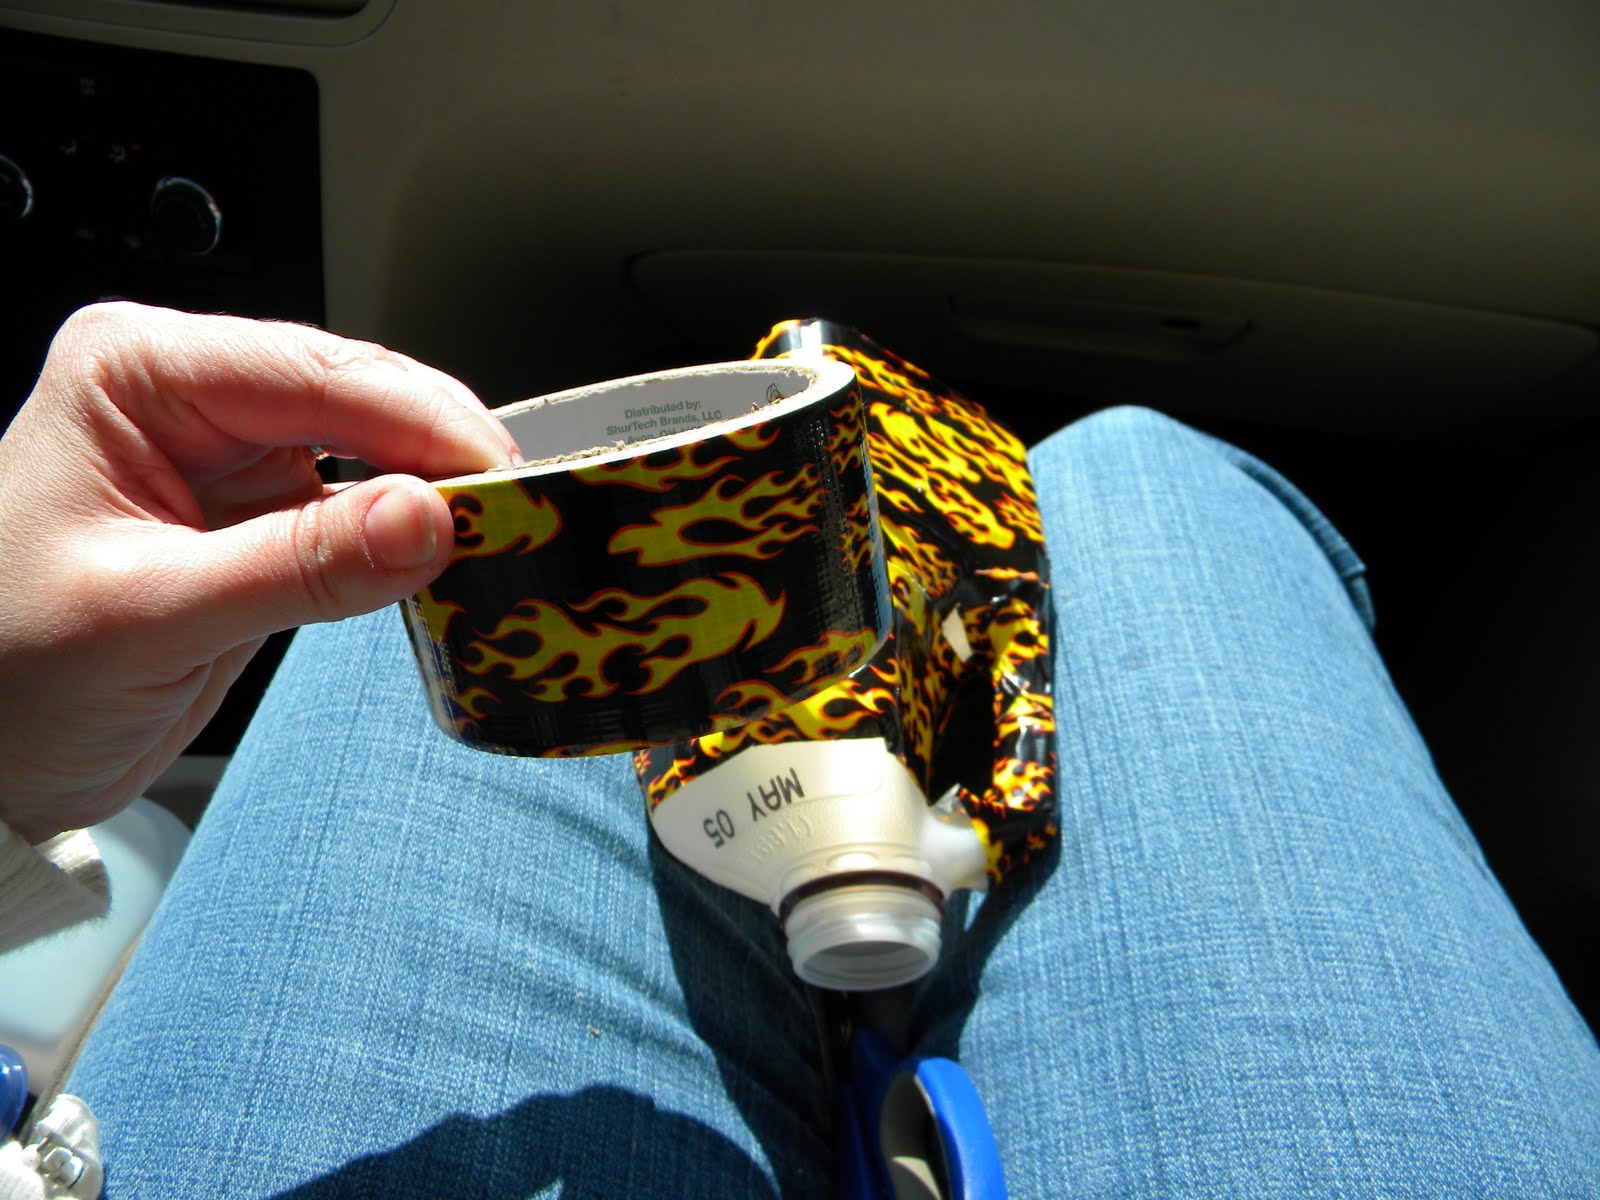
Begin taping at the cut edge by folding the Duct tape over into the inside.  You may need to snip at the  inside corners in order for it to have a good fit.  My son Caleb picked out this flaming Duct tape.  There are so many fun designs and colors to choose from.

Then I just wrapped it around the carton and I did one strip around at a time.  So I would cut after I had gone around once and then start on the next strip.  

I used smaller strips for getting around the handle.  I had lots of wrinkles in my tape, it did not go on smoothly, but I tried.  However, I think it still looks pretty good.  
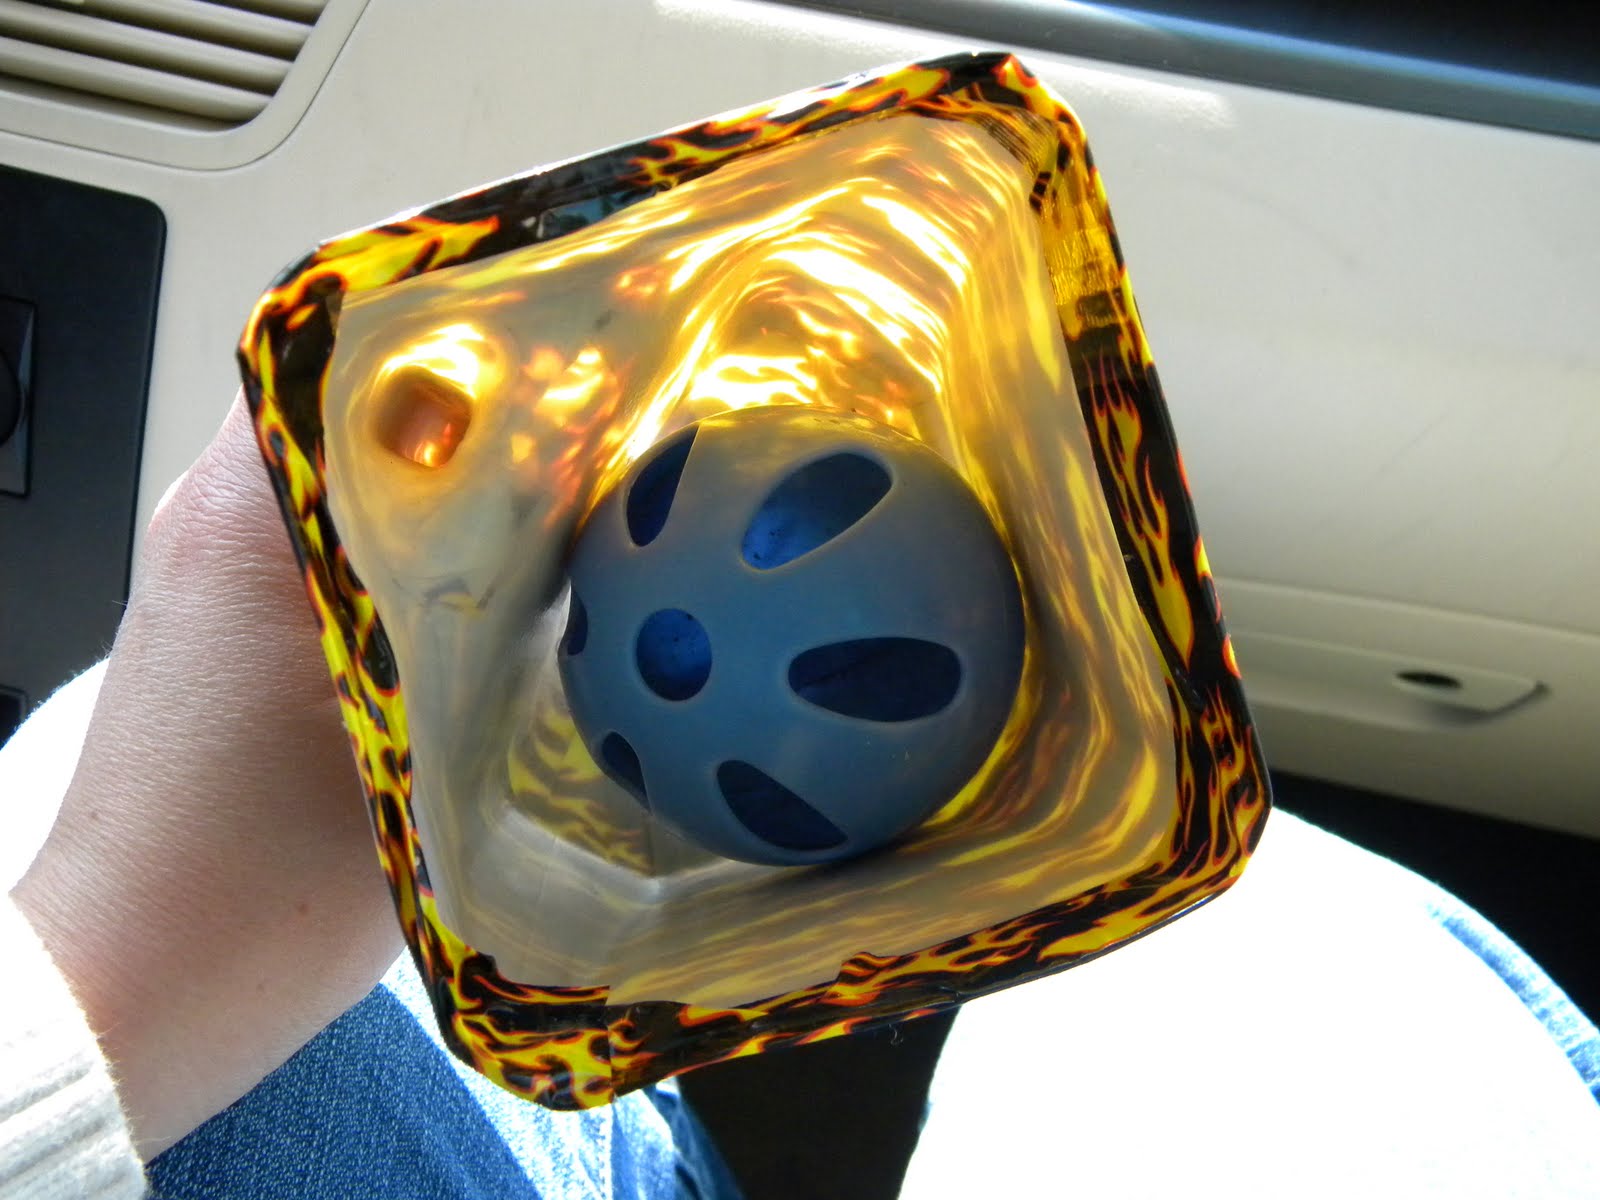
Repeat the process with your other carton and then find a ball that will fit inside without getting stuck.  This one worked okay but I think we are going to try to find one just a bit smaller.

To play scoop ball you need two players.  The object of the game is to toss the ball using your scoop and to catch the ball using your scoop (like Lacrosse?).  You can make up your own point system and rules.  We just like to toss it back and forth and then increase the distance for a challenge.  


Anything Related


Photobucket

Monday, May 9, 2011

My New Toy

This is the new toy that I had mentioned a couple of weeks ago.  I haven't been able to play with it as much as I would like but that's how it goes.  For those of you who don't know what this is, it's a  Silhouette.  A digital dye-cutting machine.  It cuts through all kinds of paper and vinyl.  It will even cut through material.  I've done a few simple things with it, such as making tags for teacher treats.  But I've also done some fun sewing projects with it too.  Here are some of the things I've been doing.

I used the pennant design to make the size I wanted and then I cut it out and used it as a pattern to make the pennant on this bag.

I did the same thing with this rocket.  I used the Silhouette to cut out the design which I then used as a pattern for this applique.

Again, I used an apple pattern from the silhouette to make this applique.

I used the vinyl to label my Sugar and Flour Containers.  I love the vinyl!

Here's a tray I bought at The Goodwill Store for 45 cents!  It no longer had any of the ribbon but, I have tons of ribbon so no biggie.

I used a black and white ribbon and then printed out "To Do" in black vinyl on the Silhouette.  Now I have a To Do List on my craft cabinet door.  I just used sticky Velcro dots to place it there. 

I found these dry erase crayons at Michael's and they are fantastic!  The boys use them on their dry erase boards and I don't have to worry about marker stains. 

The crayons worked perfectly to make my list.  All this was done for under $2.00!  The Good Will and the YMCA can sometimes have some good finds! 

All in all, I am diggin' my new toy!  I am excited about using it for scrapbooking next weekend! 


 http://linda-coastalcharm.blogspot.com/

Decorchick!

Monday, May 2, 2011

Tutorial's Coming Soon!

Want to know how I did this?  I'll be doing a tutorial this week. 
Don't worry, you don't have to be an artist...

 How about making an applique?  This one's on a bib. 
I'll show you from start to finish how to go from fabric to finished applique.


 I also learned a few tips and tricks on using iron-on vinyl.  
I'll share with you how to make a vinyl easy wipe-off bib.  
Only a basic sewing knowledge is required, that's the only kind of sewing i do!

So stay tuned to check out these projects (and more)!!
 

Sunday, April 17, 2011

Burlap Throw Pillows


I had red throw pillows on my bed but they really don't go with the decor any more.  So I bought some muslin and covered the pillow and then made a case out of burlap.  I stenciled on a design and there you go.  Took me a couple of hours and cost me less than $10!  I really like the way they turned out.

I didn't know if I should wash the burlap before making the pillowcases.  I am wishing I would have now...it kind of stinks and there is a crease that may be permanent in one of the pillows.  I had never worked with burlap until now though.  So I am learning as I go.

Friday, April 8, 2011

Fun Sheep Craft

This is a fun craft to do with your kiddos.  It does require supervising and with my two year old I had to help a lot.  But they are so cute and I just love how they look on my table.

Supplies needed:
Styrofoam egg
cotton balls
Elmer's school glue
scissors
wooden skewer
white paint
googly eyes
black paper or ribbon

Start by pulling your cotton balls in half.  Then put some glue on your Styrofoam egg and then press a cotton ball into the glue.  

We were using about that much glue per piece of cotton.

Keep gluing and adding cotton balls until it is completely covered.

Caleb didn't want to get his hands sticky with glue so he let me hold the egg, while he carefully pressed on the cotton balls.

Now for the legs.  Take a bamboo skewer and paint it white.  Then cut it apart into smaller pieces.  Cutting them to however short or tall you want your sheep to be.

Push the skewer pieces into the Styrofoam.

Then glue on your googly eyes and then a little triangle of black paper or ribbon for the nose. 

The ears are just little balls of cotton about this big.

Glue on the ears and say, "BAAAAAA!"

Didn't they turn out cute?!

I couldn't resist making a black sheep to hang out with them!

There they are in the grass, making a sweet centerpiece for my dining table. 


I had to share this picture of Simon with fuzzy, cotton fingers.  He was a little concerned.


Funky Junk's Sat Nite Special


Anything Related


lil luna link party button


Photobucket


Black Kats Design

Swidget 1.0